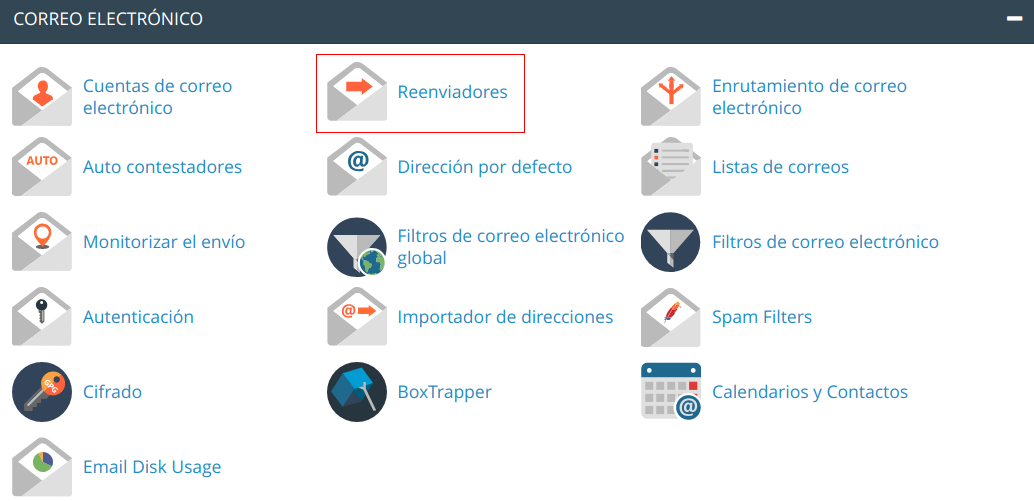
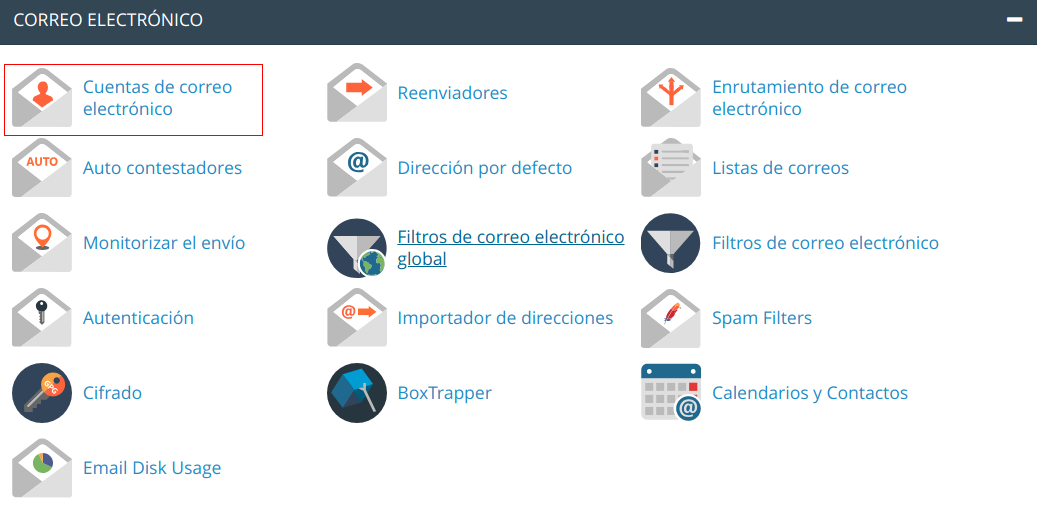
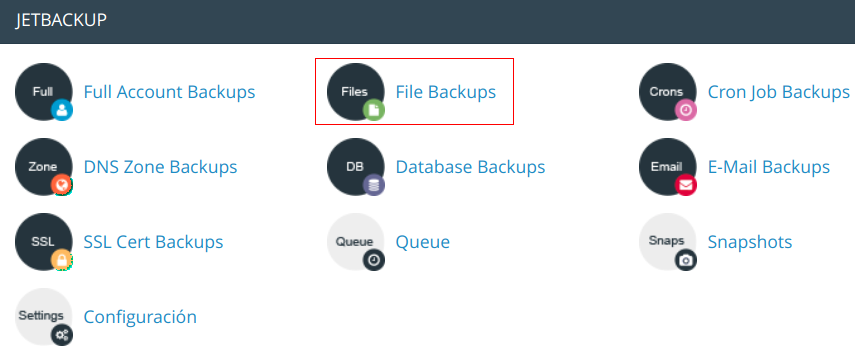
The first thing we need to do is go to the JetBackup section (to do this, we must have the JetBackup module installed), where we'll see all the backup options that cPanel offers.
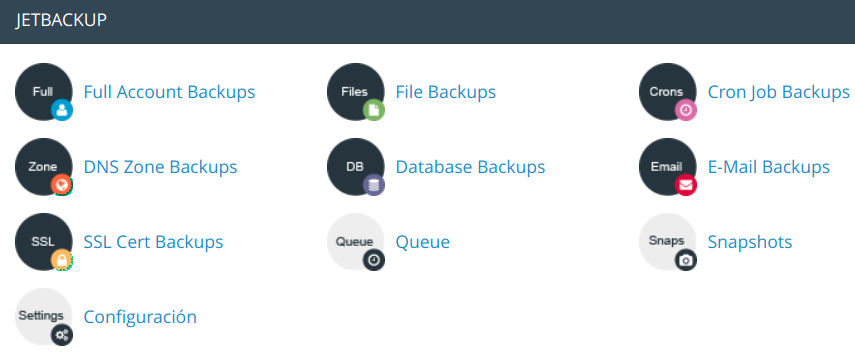
Depending on the type of backup you want, select one of the options offered by JetBackup; the process is similar in all cases.
In our case, we select the “Full Account Backups” option, and the following window opens, displaying a list of the most recent backups sorted from newest to oldest.
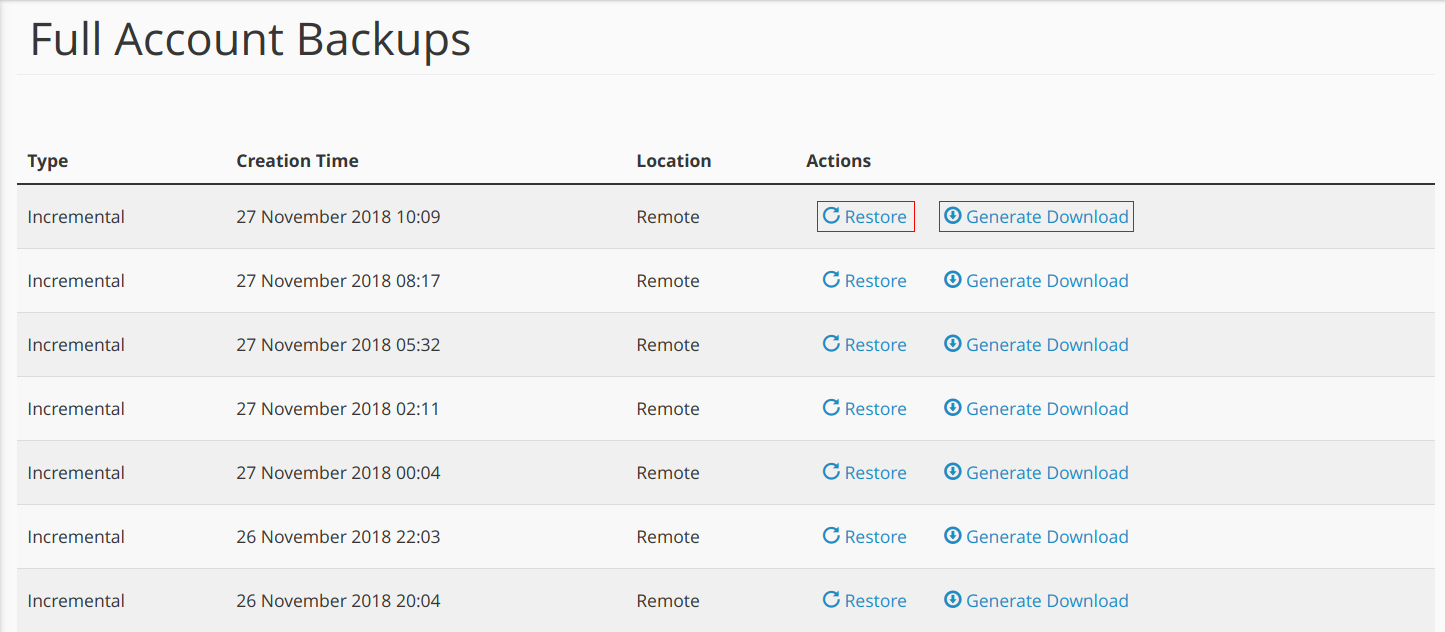
For all backups, you can either restore them or download them.
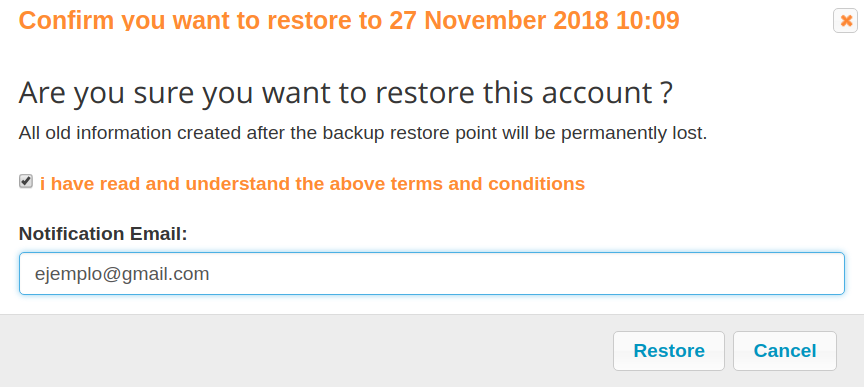
If you select the restore option, an alert window will open where you must accept the terms and conditions and enter an email address to which a notification will be sent once the restore is complete.
With the “Generate Download” option, you can request a download link for that backup. After a waiting period (which varies depending on the backup’s size), you’ll be able to download it without any issues.


In the case of the “file backups” option, the process is slightly different, as this option allows you to view each folder and file in the backups, enabling you to make a more precise selection of what you want to restore or download.
Once you select this option, a window will open where you must select a backup from the list, which is sorted by creation date from most recent to least recent.
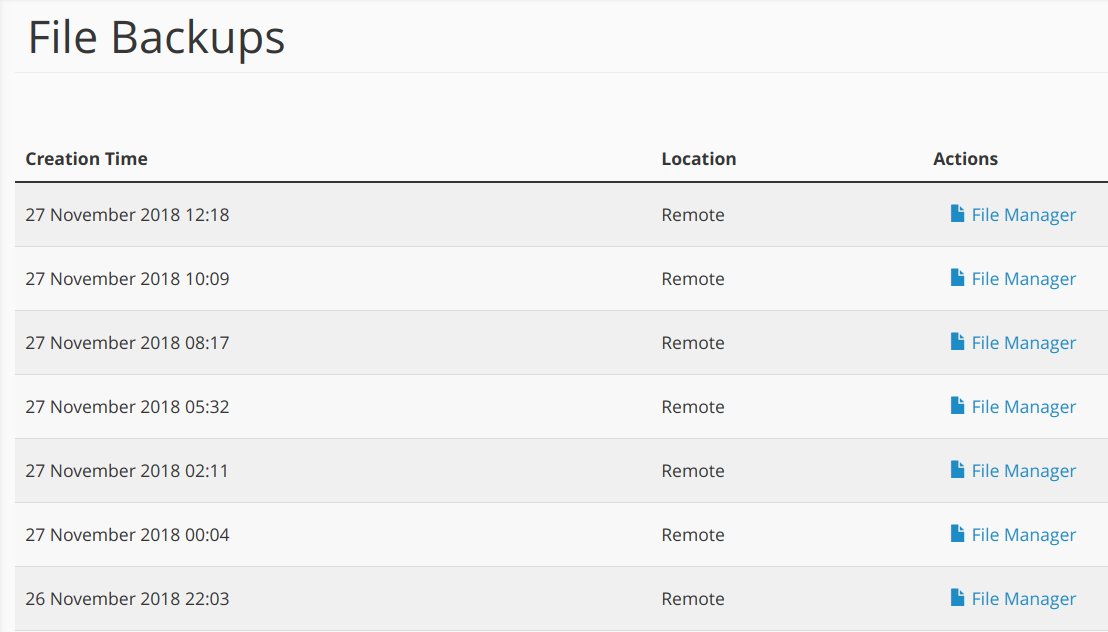
Select the “File Manager” link for the backup you want, and you’ll be able to view and select the folders within that backup.
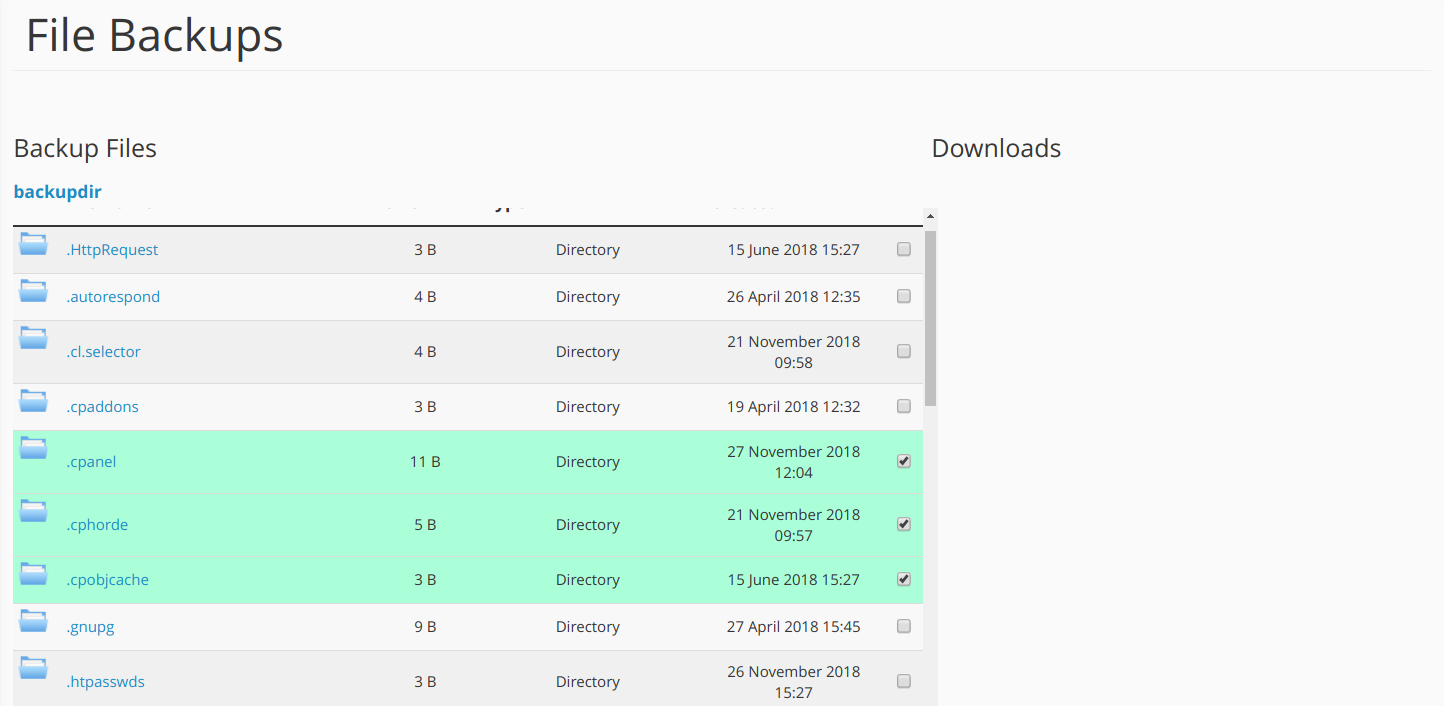
Once you’ve selected these folders, you can choose what to do with them: restore them, download them, or deselect them.